As you saw in my last post, I didn’t really plan carefully for the arrival of my Raspberry Pi and Beagle Bone Black boards. Sadly, the saga continues…
So what MORE could go wrong you ask? Plenty, as it turns out. And in this case, my enemies were:
- Rapidly moving technology
- Failure on my part to read the specs carefully (a.k.a. being a dolt)!
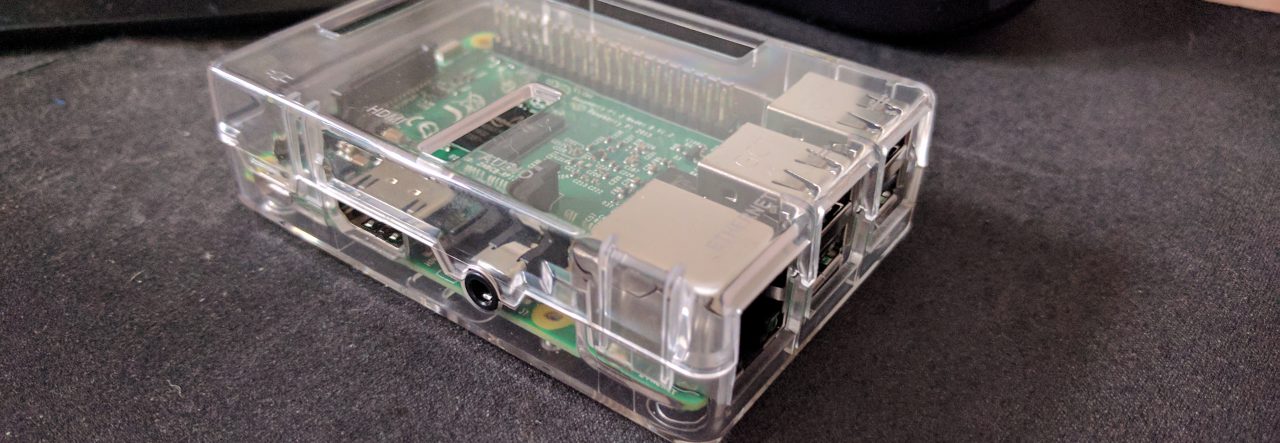
So after my (mis)adventures with the power supply, I finally got a few moments to begin to load up my Raspberry Pi with the base software to boot a Linux distribution. I downloaded the NOOBS software (as it is called…a set of software that you load on an SD card so that you can easily load up one of several popular Linux distributions with the touch of a key) but ran into problems when I tried to transfer it to my brand new class 10, 32-gig micro SD card.
You see, I kept getting “crc check errors,” meaning that I wasn’t getting a clean copy to the card. After several attempts, I began to suspect that maybe I had received a bad memory card. Since I had purchased two cards (one for each board), I tried writing to the second card…only to get the exact same error messages again. At this point I began to suspect that the problem was NOT the card. Not just because TWO cards were failing, but because I had purchased these two cards several weeks apart. I doubted that they were from the same lot (I COULD believe that two cards from the same lot were bad), so it was probably not the card.
Now my suspicion turned to my micro SD card reader.
Was it the speed of these SD cards (class 10)? Was it the size of these SD cards (32 gig)? I had never used micro SD cards of this size or speed before with our current USB card reader, so I began to suspect that the card reader might not be up to the task. Whether it was the card speed or the size didn’t really matter. It looked like I was dealing with obsolescence…and no true geek TOLERATES obsolescence!
A quick check at Amazon showed a micro SD card reader that several reviewers indicated they had used with class 10, 32 gig micro SD cards, and since the price was a ridiculously low $7 delivered to my door thanks to Amazon Prime (click here for the Transcend card reader that I purchased), I only had to wait the three days for it to arrive.
Once the reader arrived it was two days before I had time to unpack and test the reader. In less than two minutes I had the micro SD card loaded up…problem solved!
I figured from this point onward it was smooth sailing. All I had to do was plug the memory card into the board, connect the board to my monitor using the HDMI cable that I had purchased with the board, and I should be ready to “rock and roll.”
WRONG!!!
As I unwound my brand new cable, I began scouring my monitor for the HDMI port. Simply put: there wasn’t one.
THEN I remembered how, many years earlier, when I had purchased my first flat screen monitor (which is the one I’m still using), that I made the decision to save myself a whole bunch of money and buy the monitor that only had the DVI interface, and not the HDMI interface as well. It was a good move at the time as I did not own, and did not expect to own any time in the near future, a device with an HDMI output. Now it had come back to bite me. Obsolescence had reared its ugly head a second time!
Once again it was Amazon to the rescue!
After a quick search I found that there is indeed an HDMI to DVI cable to be had for the low, low price of $7.99 delivered to my door with Amazon Prime (click here to see the HDMI-to-DVI cable that I purchased). Another three days…and my cable finally arrived.
I have not, as of yet, had time to test my board with the cable or with the new loaded memory card. Maybe within a week I’ll a get a few minutes to do so.
But if you haven’t been paying attention all this time, I’ll lay it out for you: If you don’t want to be a dolt, read the specs and check your equipment! Fortunately the solutions are cheap…but they will cost you time…and geeks HATE to waste time!
Until next time…